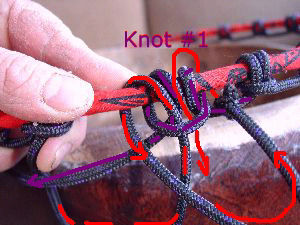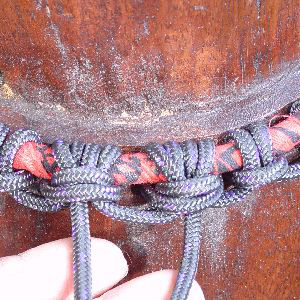
Rope the Top Ring
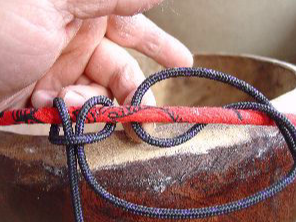
Begin with the top ring. I find the middle by folding and the just slip the two ends around the ring back. over the top and down through the center fold. If it looks weird for you, try flipping the ring over. It should look like the knot on the left here. I start in the middle and work first one way (to the right here), and then the other (to the left). It is a rope handling trick so you handle as little rope as possible as you work. So take the right hand rope. go over the ring from the outside, and as you come around go through the loop of rope that the connection to the first know left. Here I'm about to go through that loop Note I am pushing a loop of rope through, then I pull the rest through.
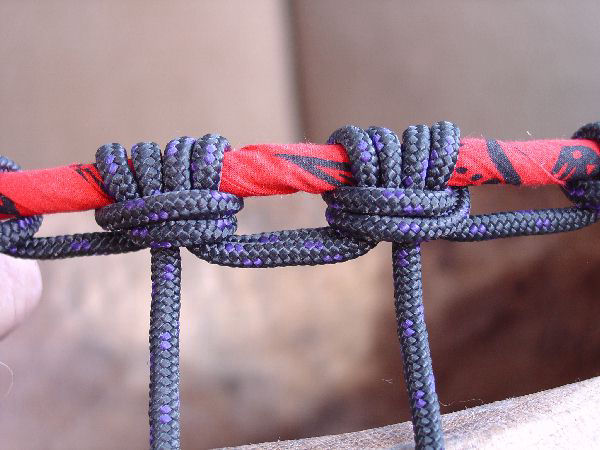
Cradle Pattern
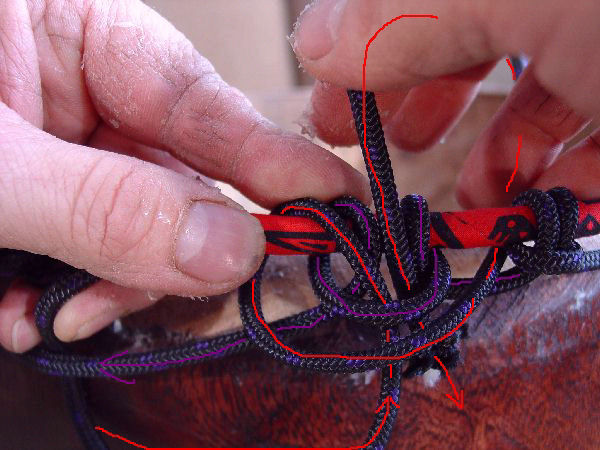
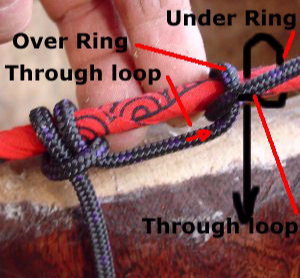
Now I have snugged the first knot tight (left) and leaving the width of two fingers, have snugged the first half of the second tight. I am about to complete the second knot by following the black lines and going behind and under the ring, and again through the through the loop just made by that action. That is the pattern:
Over the ring, through the loop
Under the ring, through the loop.
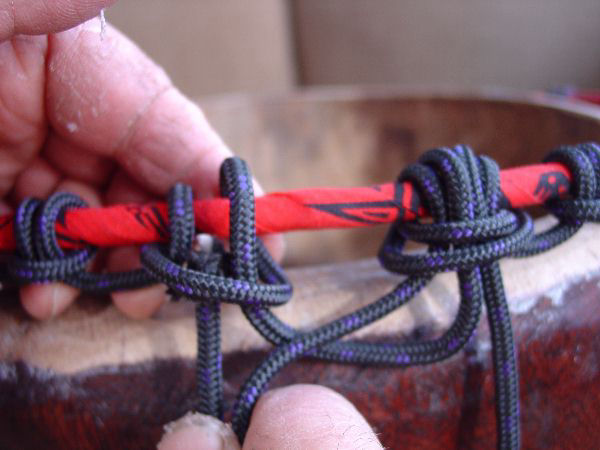
Spacing
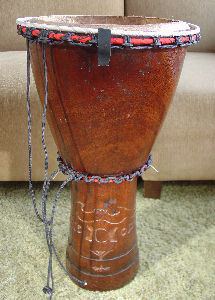
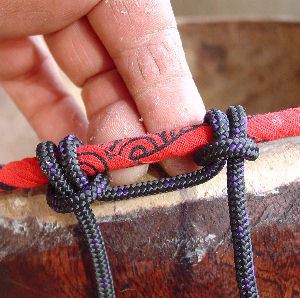
I keep them nicely snugged as I go, 1.5 to 2 fingers apart. You will need to adjust them when you meet with each end on the far side. I've found you can always pull them, a little tighter to space them more, and it is easy to slide them closer together. These will stretch as you tune the drum, so no need to leave slack. The tension will make them slack!
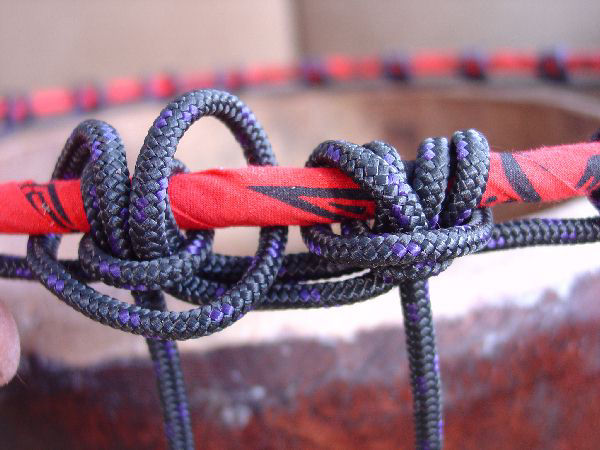
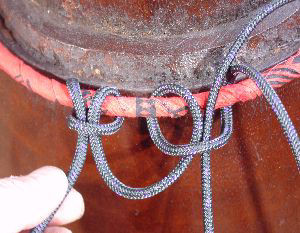
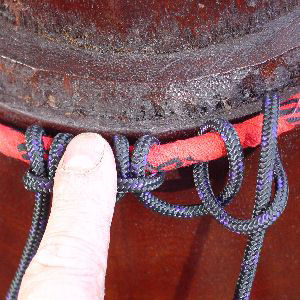
Bottom Ring Wrap
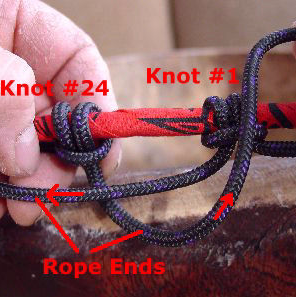
I did twelve on to the right and found I was just under half way (and running out of rope. I reversed and started from knot One and went left. This mantra works:
Over the ring, through the loop
Under the ring, through the loop.
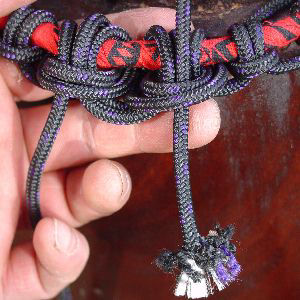
Here you see the end two knots, 24 in total and the ends stretched opposite directions where they meet. Now the beginning knot is actually in the middle of the far side, so know I renamed the knots now #24 on the left, #1 on the right. What I am going to do is thread the rope that leaves knot #24 headed right, and thread it all the way through, following the exact path, of knot #1. Then we'll take the end from knot # 1 and as it heads left, thread it all the way through knot # 24, following it's path. To do this we loosen both knots a little. I have tried to color code the ropes to make it easier to follow. You end up with a "double" cradle rope where they join.