website templates

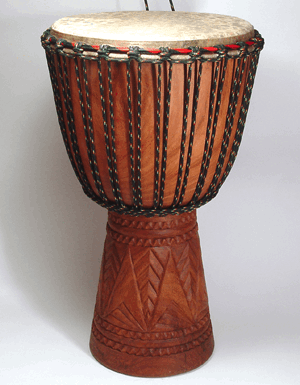
Repair Tips for the Wood Djembe Drum, Clay Doumbek, or Hoop Drum s

These tips can help you attempt to make your own repairs. If your drum is damaged, get it back to playing condition, or send it to me and I will fix it! A drum sitting in a closet is totally useless! 

Mobirise

Tips for Repairing Wood Drum Shells:

~ To fill small voids, use "Plastic Wood" wood putty.

~   For extra large wood repair or filler pick up some two part sandable/stainable wood filler. 

~ Belt sand some wood off the bottom of drum, mix dust with white glue as a color matched filler.

~ For large loose but clean cracks all the way through shell.
        Spread the split and work white glue thoroughly into crack using a piece of plastic shopping bag see-sawed through the crack to work the glue in. Then clamp with a loop clamp, or wrap with a loop of drum rope and use a hammer to tighten like a tourniquet.

~ For Fine cracks - fill with five minute epoxy and dremel excess off when dry using a "teardrop" grinding or sanding bit.
Mobirise

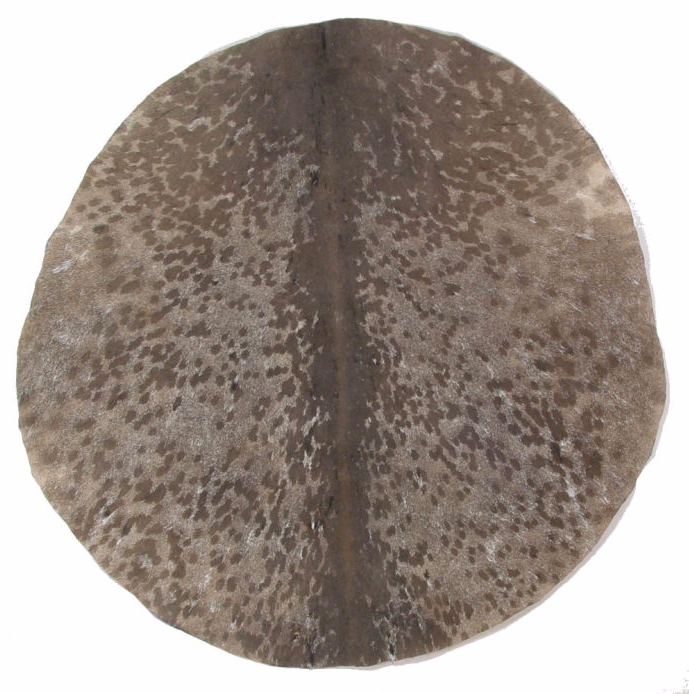
Tips for Repairing Drum Skin:

~ Fill pin holes, and small cracks, nicks, or cuts with Super Glue Gel - lightly sand flush when dry.

~ Patch over large holes and tears with a scrap of goat skin super glued thoroughly under the area. Use a dowel to place skin patch on underside of head in tight quarters. Put a bit of poster putty on dowel end, stick patch to it, and load up with super glue. Eye it up with hole and hold in place for a couple minute, then it will stick and pull off the dowel. Fill top of crack with Super Glue Gel - lightly sand flush when dry.

~ A blob of "Shoe Goo", shoe repair silicone product under a damaged area can delay repairs.

~ Calf or Cow skin tears can be stopped from opening further by reinforcing tear ends with a blob of "Shoe Goo". 

Mobirise

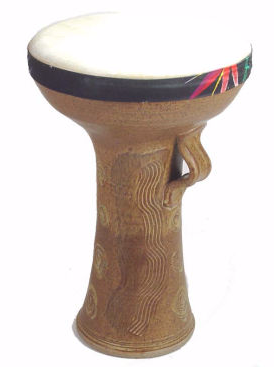
Tips for Repairing Ceramic Drums:

~ Broken Pieces can be super glued or epoxyed in place.
Use "Oatly 2 part Epoxy Putty" to back up cracks or thin spots on ceramic drums.

Tips for Replacing Doumbek Skins:

~ Keep hand oils off the surface gluing hide onto- steam clean old head off.
~ Soak hide for less than 30 minutes in room temperature water.
~ Press excess water off hide between paper sheets or cloth before gluing.
~ Use white glue, yellow moisture resistant, or low drip wood glue - no other! Thicken glue with a little flour if necessary.
~ Vise grips can grab slippery hide better than fingers.
~ Use large radiator style clamps pulled lightly tight, then pull skin as tight as possible, then tighten clamps more!
~ Leave a damp sponge in center of hide to relieve shrinkage stress pull as the glue edge dries.
LEAVE HIDE CLAMPED FOR TWO FULL DAYS - it takes time for glue to cure to full strength. 

I repair most any type of drum, take some pictures, then call me for an estimate!

Address

Hawkdancing Studio
42  1-1/2 St
Clear Lake, WI 54005

Contacts

Email: hdtalktous@gmail.com 
Phone: 715-263-2756